Geometrical tolerancing in practice according to ISO 1101

HOMMEL ETAMIC, a leading manufacturer of measuring systems, offers a wide-ranging collection of measuring solutions for industrial manufacturing processes. Our technologies consist of the pneumatic, tactile or optical measurement of roughness, contour, shape and dimensional characteristics, as well as optical inspection of finished surfaces.
The measuring systems guarantee the quality of the workpiece throughout every stage of the production process by delivering accurate measurement data within seconds. Whether it's an in-line, off-line or a 100% inspection of all parts produced – automated metrology increases the overall productivity of the production process through efficiently designed inspection solutions.
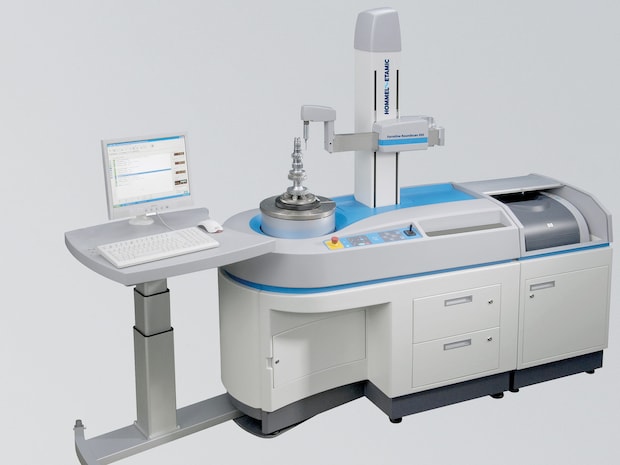
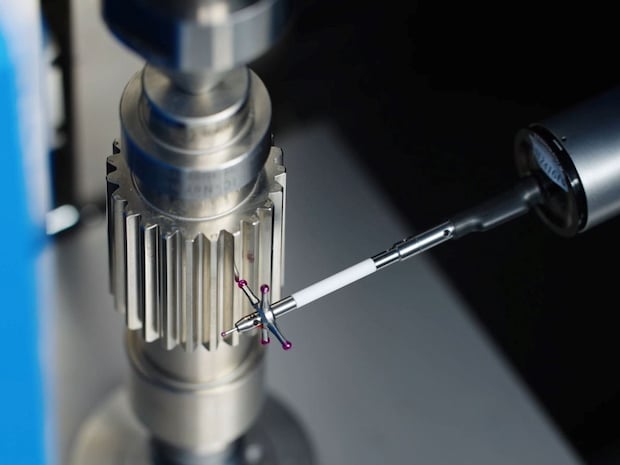
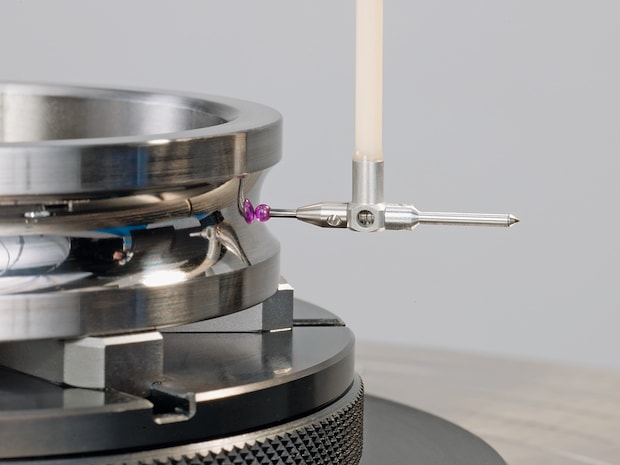
We offer solutions for various tasks in form measurement. Our range includes a fully automatic CNC measuring station for all form and positional tolerances, combined form and roughness measuring systems, and special solutions for measuring crankshafts and camshafts according to ISO 1101.
Tolerances according to ISO 1101

The standardized tolerance specifications in conformity with ISO 1101 determine tolerance zones. The toleranced elements of the workpiece such as line, area, point, axis or median plane must lie within these tolerance zones.
Form tolerance according to ISO 1101: This tolerance zone limits the deviation of a form element from its ideal geometry. It is orientated exclusively to the element. Precise dimensional specifications and datums are only required for the tolerances for profiling any line or surface.
It includes:
- Roundness
- Straightness
- Flatness
- Cylinder form
Orientation tolerance according to ISO 1101: This defines the permissible tolerance zone for deviations from the prescribed general direction between the entities being measured. The toleranced element's form and datum deviations are constrained.
It includes:
- Parallelism
- Perpendicularity
- Angularity

Location tolerance according to ISO 1101: This tolerance zone limits the deviation of the element (position, coaxiality, concentricity, symmetry) from its perfect geometric position, which must be precisely defined using a datum or datum system.
It includes:
- Position
- Coaxiality
- Concentricity
- Symmetry
Run-out tolerance according to ISO 1101: This pertains to the tolerance zone that confines the form and position variations of envelope areas or plane faces concerning the rotational axis.
It includes:
- (Total) Radial run-out
- (Total) Axial run-out
Do you want more information?
